Connecting your revenue integration
- Click on Data and then on Revenue & Customers via the menu on the left.
- Under Revenue integrations, click on the Connect data button.
- Select your integration by clicking on the logo, then follow the instructions on the screen for a successful connection.
Preparing your manual invoices upload
If you do not use a supported subscription management tool like Stripe or Chargebee, you can upload your revenue data manually in Excel or CSV format.
Note: To avoid errors during the upload process, please click here and use our Excel template.
The further back the covered period of your invoices go, the more detail you will get in the revenue analytics.
Note: It's required to upload the last 24 months of outgoing invoices to get access to funding from re:cap.
Avoid these common mistakes for a successful manual upload:
- Duplicate InvoiceIDs: InvoiceIDs are how we differentiate invoices with similar attributes. Invoices with a duplicate InvoiceID cause miscalculations.
- Not including churned subscriptions: churned customers are an important part of re:cap’s analysis and should be included in the subscription data. If churned customers aren’t included in the subscription data, there will be a mismatch between the MRR in the financial statements and the subscription data.
Manually uploading your invoices
- Click on Data and then on Revenue & Customers via the menu on the left.
- Under Revenue files, click on the Add data manually button.
- Click now on Import invoices.
- Here you once again have the option to download our template, which we recommend using.
- Click on Browse files to select your Excel or CSV file and upload it.
- Click on Start converting data.
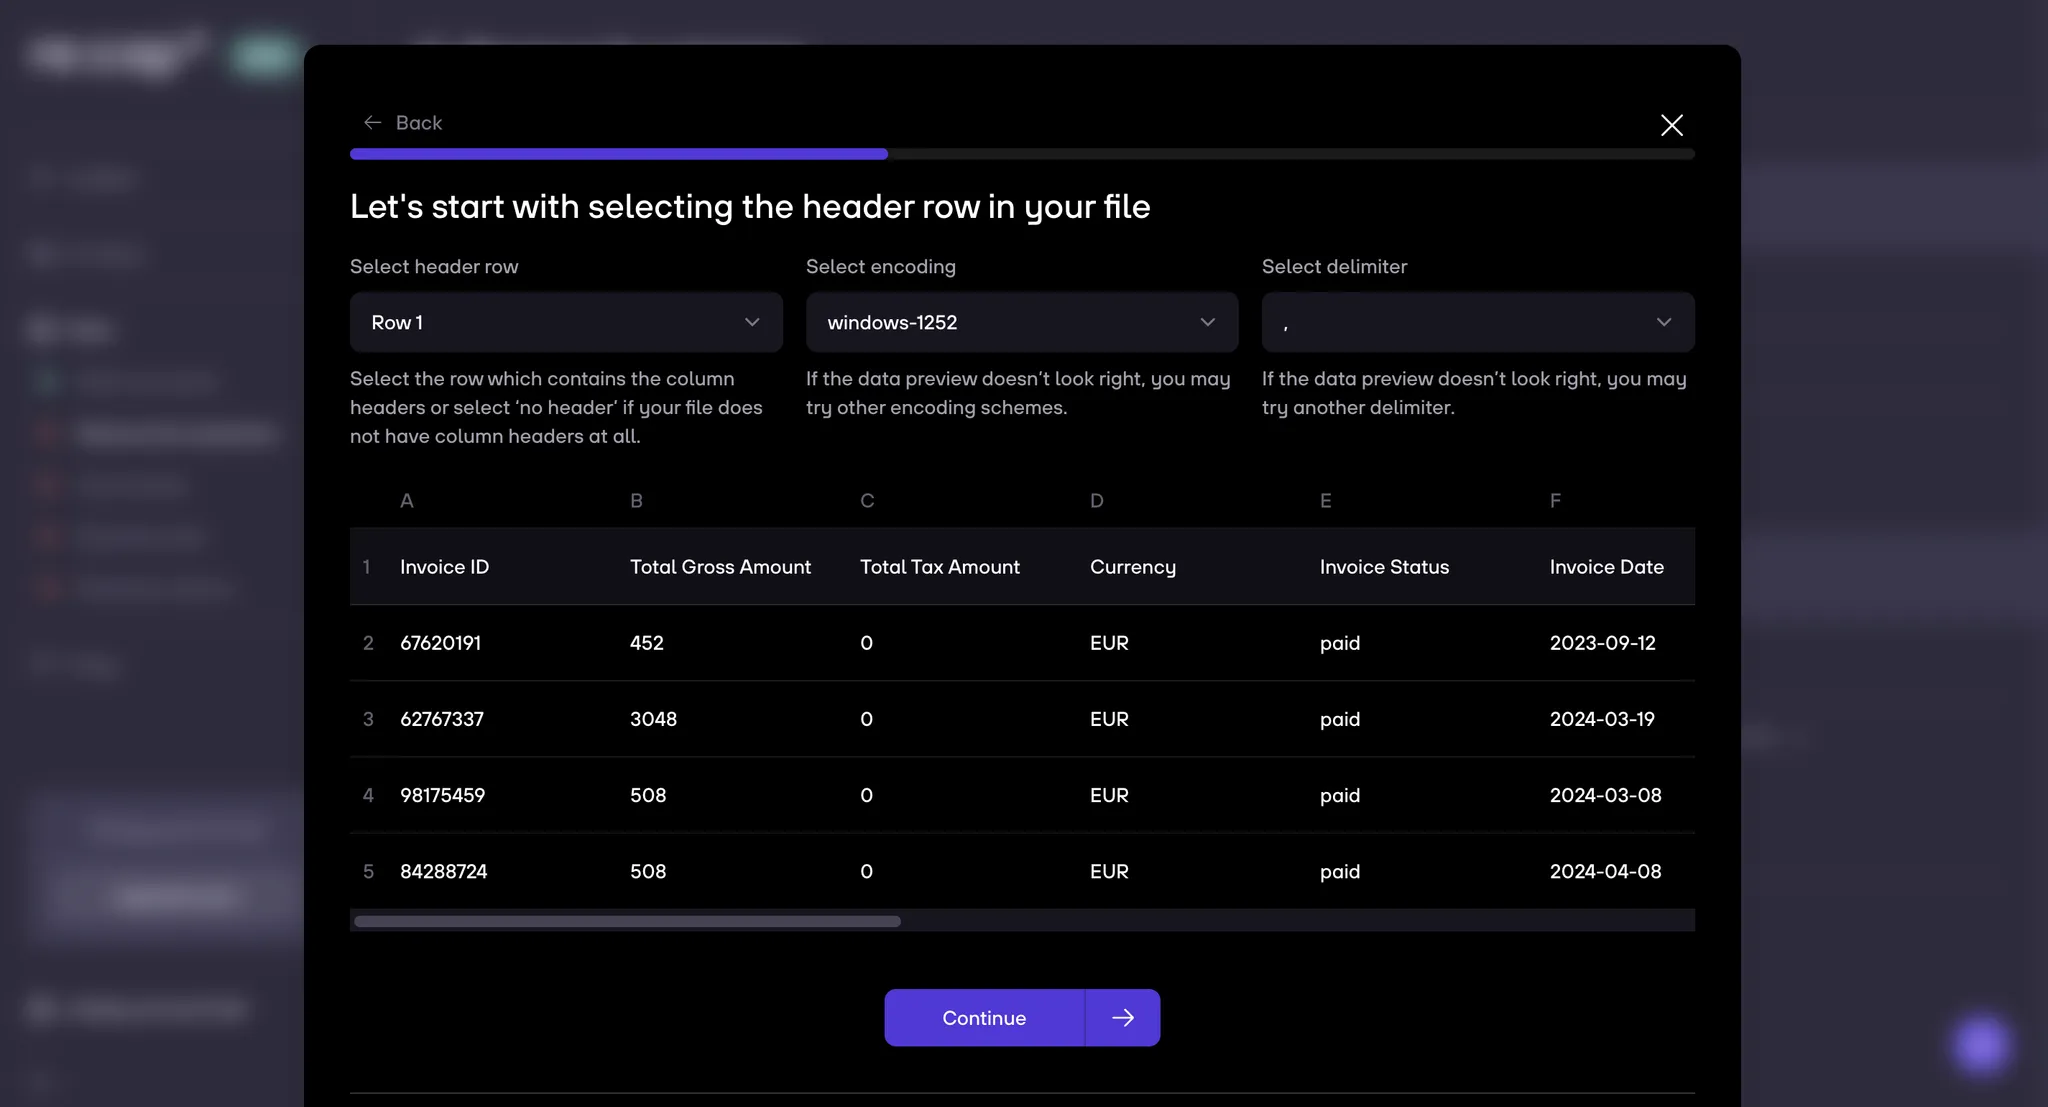
- The contents of your file will now be visible. Check if they look right, and then click on Continue. If the contents don’t look good you can change the encoding and/or delimiter of your file.
- When all the columns are successfully matched, you can click on Continue.
- Review your data once again the last step, and then click on Confirm.
- The revenue data will be processed. It sometimes takes some time until all insights in the Revenue & customers section are calculated. You can close the modal while the calculation continues in the background. The status will turn green and indicate that everything is processed once everything is done.

1. Check that everything has matched correctly:
- Green: All good – we’ve found the column and value in your upload.
- Orange: Check required – we’ve think we’ve found a match, but you should check it.
- Red: Work needed – we couldn’t find the column in your data, which might be because:
- The column was not included in your upload → Upload a new file or set static values
- The column name was too different → Select the matching column


.gif)


